Posterior Neck Stretch (Chin Tuck, Supine)
2 × 10 reps
A small supine chin nod paired with a gentle pelvic tilt to practice controlled neck and trunk positioning.
An illustration is coming soon. Follow the step-by-step instructions below.
How to do it
- Lie on your back, knees bent, feet flat on the floor.
- Bend elbows with hands up beside your head.
- Tilt the pelvis to flatten the low back against the floor.
- Press the head back with the chin down and in, trying to flatten the neck.
Form cues
- Chin down and in, not just back
- Flatten the neck, do not jam the head into the floor
Why this exercise helps
This supine drill combines a small chin nod with a gentle posterior pelvic tilt, giving the head, ribcage, and pelvis support from the floor while you practice controlled positioning. The nod may create a mild stretch or effort around the back and front of the neck, but it does not isolate one muscle group or require the natural neck curve to become completely flat. Use only light pressure rather than driving the head down. Stop if it provokes headache, dizziness, visual symptoms, or symptoms into an arm.
Stop or modify if
- Driving the head forcefully into the floor. Use only light pressure and a small chin nod without straining the jaw or throat.
- Forcing the lower back flat during the pelvic tilt. Use a small, comfortable pelvic movement rather than pressing the spine hard into the floor.
- Straightening the legs if that makes the trunk tense. Keep the knees bent and feet supported so the pelvic movement stays comfortable.
Modifications and progressions
- If the neck feels pressured against the floor, place a thin folded towel under the head and use a smaller nod.
- Progress by adding a brief 5–10 second comfortable hold before releasing, without increasing the force into the floor.
Muscles worked
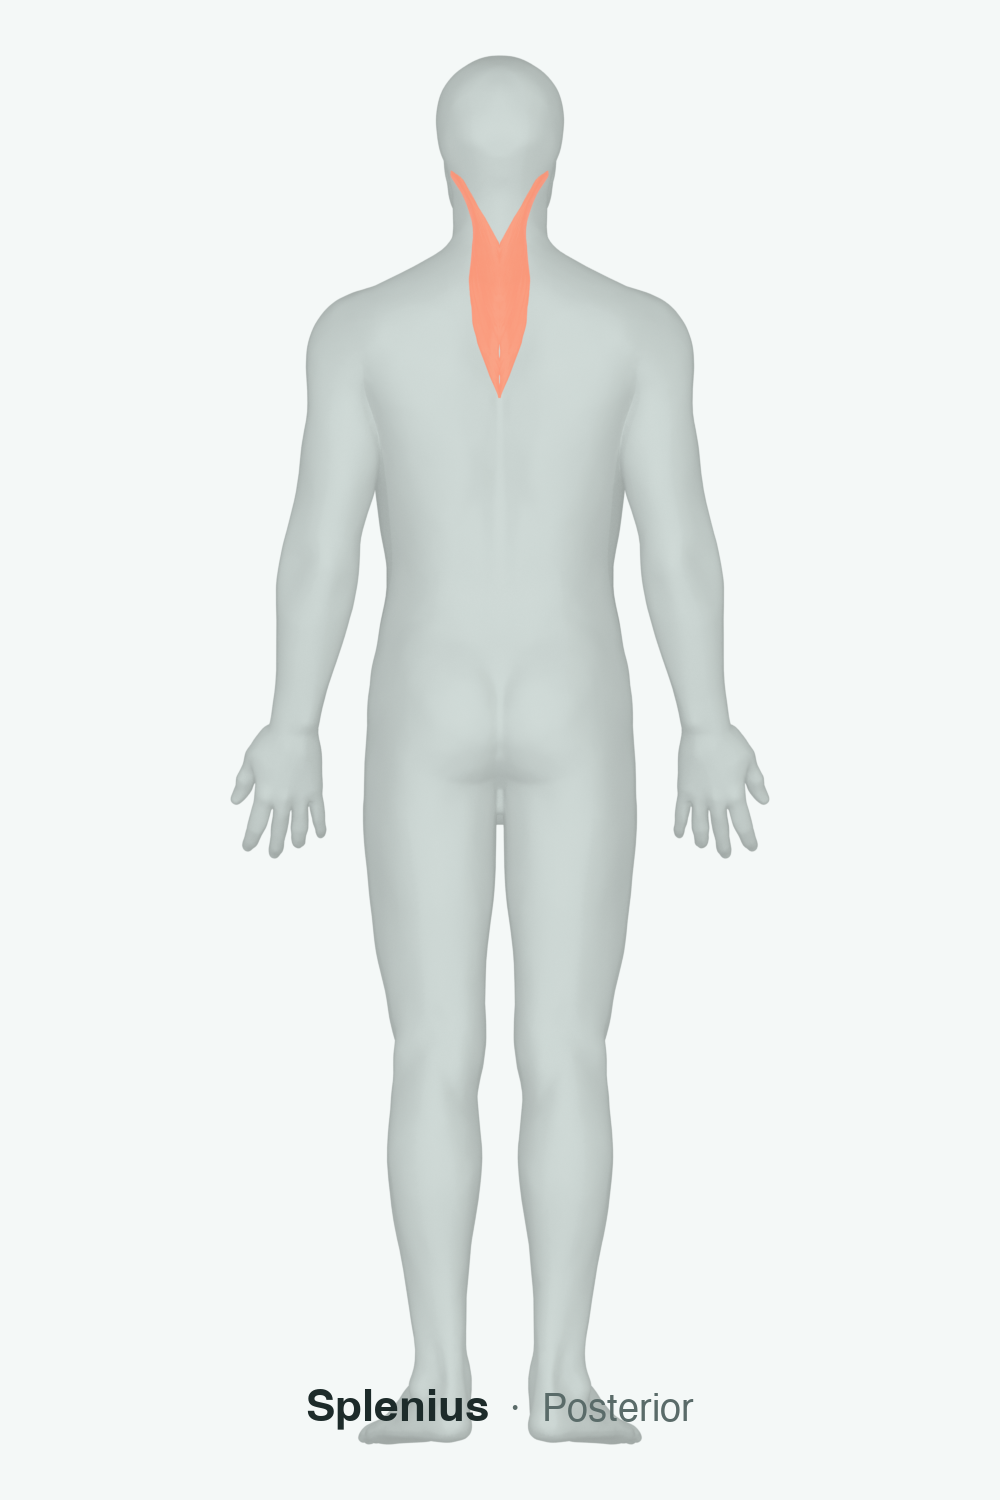
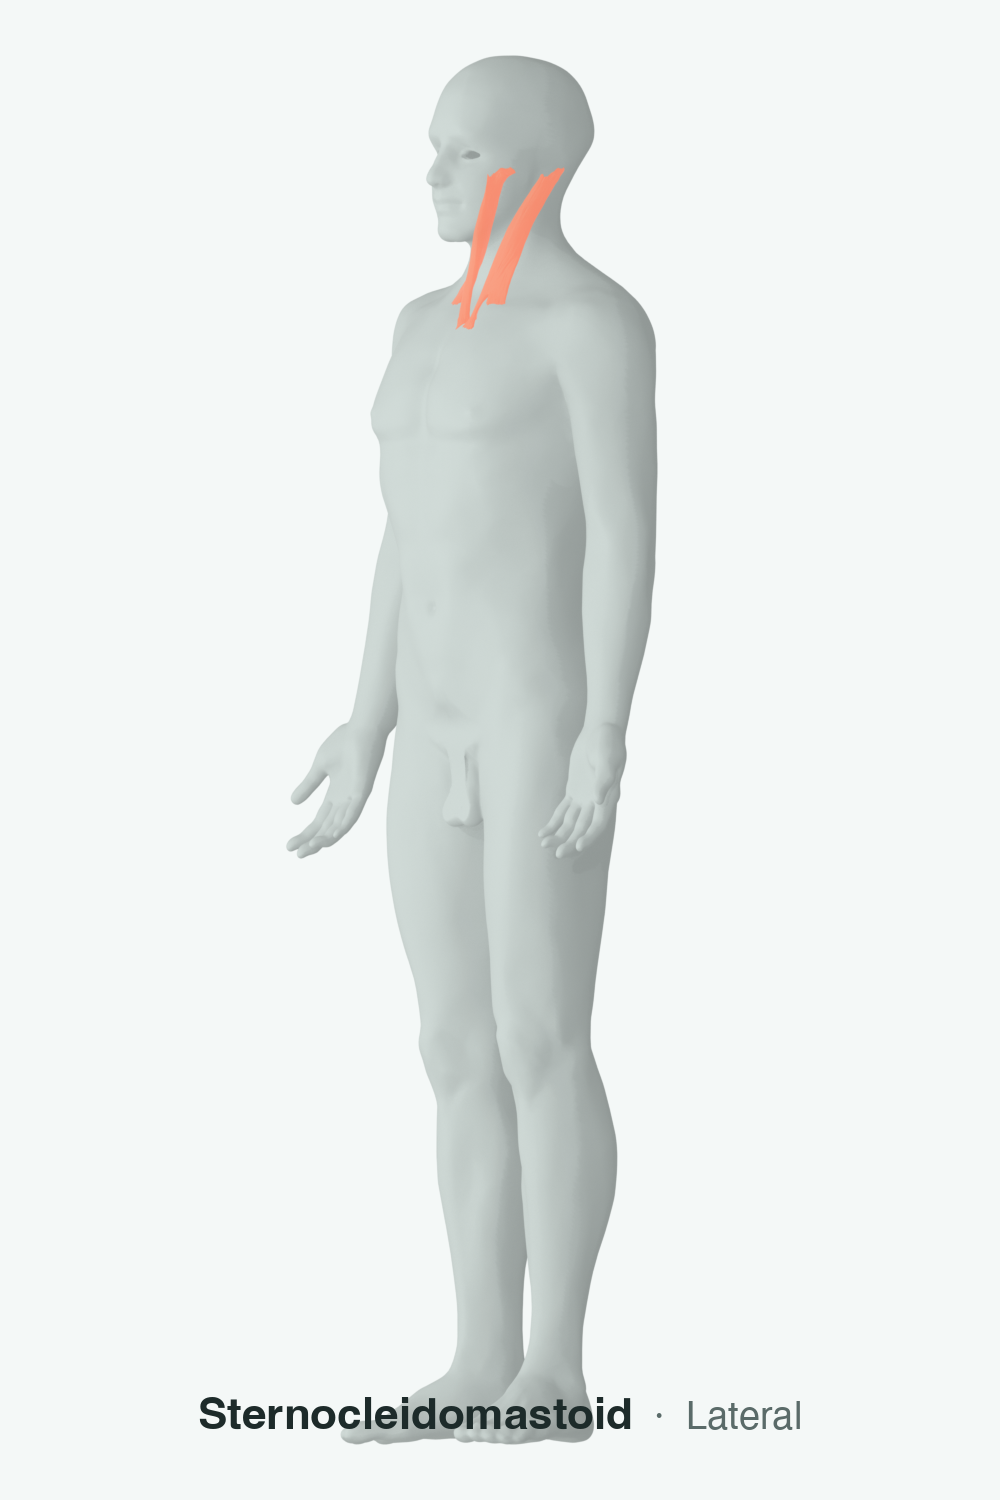
Stretches: neck extensors, suboccipitals
Strengthens: neck flexors